How to Install Telnet in Windows 11 Operating System?
To install Telnet on Windows 11, you can use the "Turn Windows features on or off" option in the Start menu. Alternatively, you can use the command prompt and the "dism" command to install Telnet. Once installed, you can use Telnet by typing "telnet" at the command prompt and following the on-screen instructions.
Telnet is a network protocol that allows users to connect to remote computers and run applications on them. It allows users to control a remote computer as if they were sitting in front of it and using its keyboard and mouse.
telnet-windows-11TL;DR To install Telnet on Windows 11, you can use the "Turn Windows features on or off" option in the Start menu. Alternatively, you can use the command prompt and the "dism" command to install Telnet. Once installed, you can use Telnet by typing "telnet" at the command prompt and following the on-screen instructions.
To install Telnet in Windows 11, follow these steps:
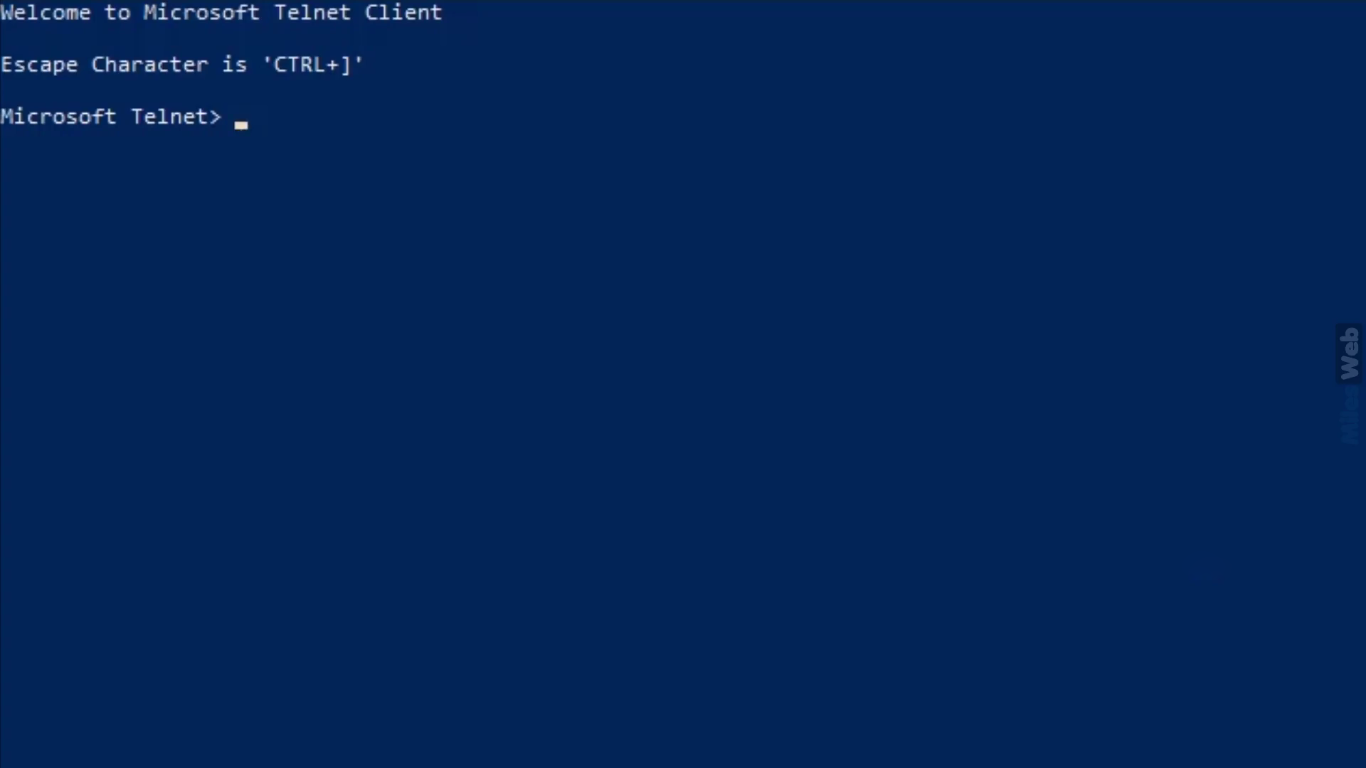
This will install Telnet on your computer. You can then use it by typing "telnet" at the command prompt and pressing Enter.
- Open the Start menu and type "Turn Windows features on or off" in the search box.
- Click the "Turn Windows features on or off" option in the search results.
- In the Windows Features window, scroll down to the "Telnet Client" option and check the box next to it.
- Click the "OK" button to install Telnet.
- Open the Start menu and type "cmd" in the search box.
- Right-click the "Command Prompt" option in the search results and select "Run as administrator".
- In the command prompt, type the following command and press Enter:
dism /online /Enable-Feature /FeatureName:TelnetClientAdvertisement