How to Change the HostingSewa Client Area Password?
[ad_1]
Steps to change the HostingSewa Client Area password:
- Log in to HostingSewa Client Area.
- On the left sidebar, click on My Profile.
- Now, go to the Change Password tab.
- In the Existing Password textbox, enter your current password.
- In the New Password textbox, enter the new password. Make sure the password you enter must be alphanumeric i.e. the combination of upper and lower case letters, numbers, and special characters.
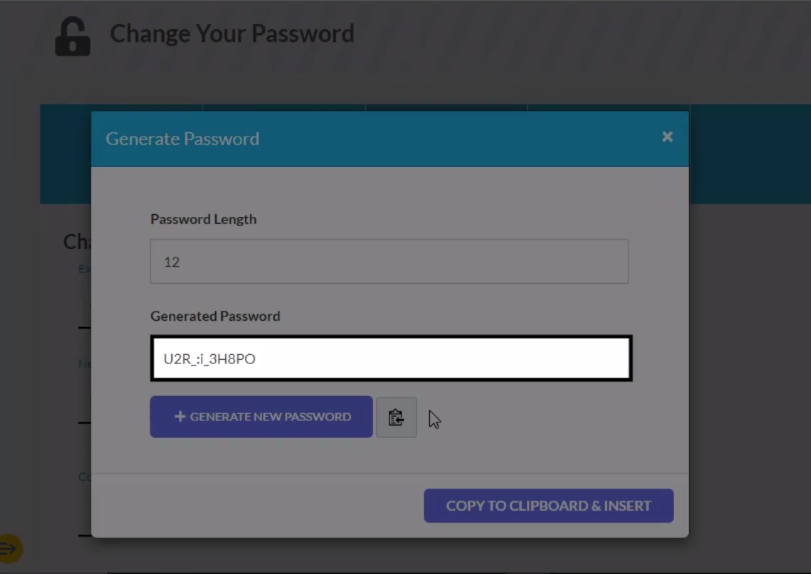
- If you don’t want to enter the new password manually then you can click on Generate Password.
- As you can see the auto-generated password in this textbox.
- Again if you want to generate a new password then click on Generate New Password.
- To copy and insert the auto-generated password then click on COPY TO CLIPBOARD and INSERT.
- As you can see the auto-generated password automatically gets filled in the New Password and Confirm New Password sections respectively.
- Click on SAVE CHANGES and you will get a success message.
- You can also change your password by clicking the profile icon on the top right.